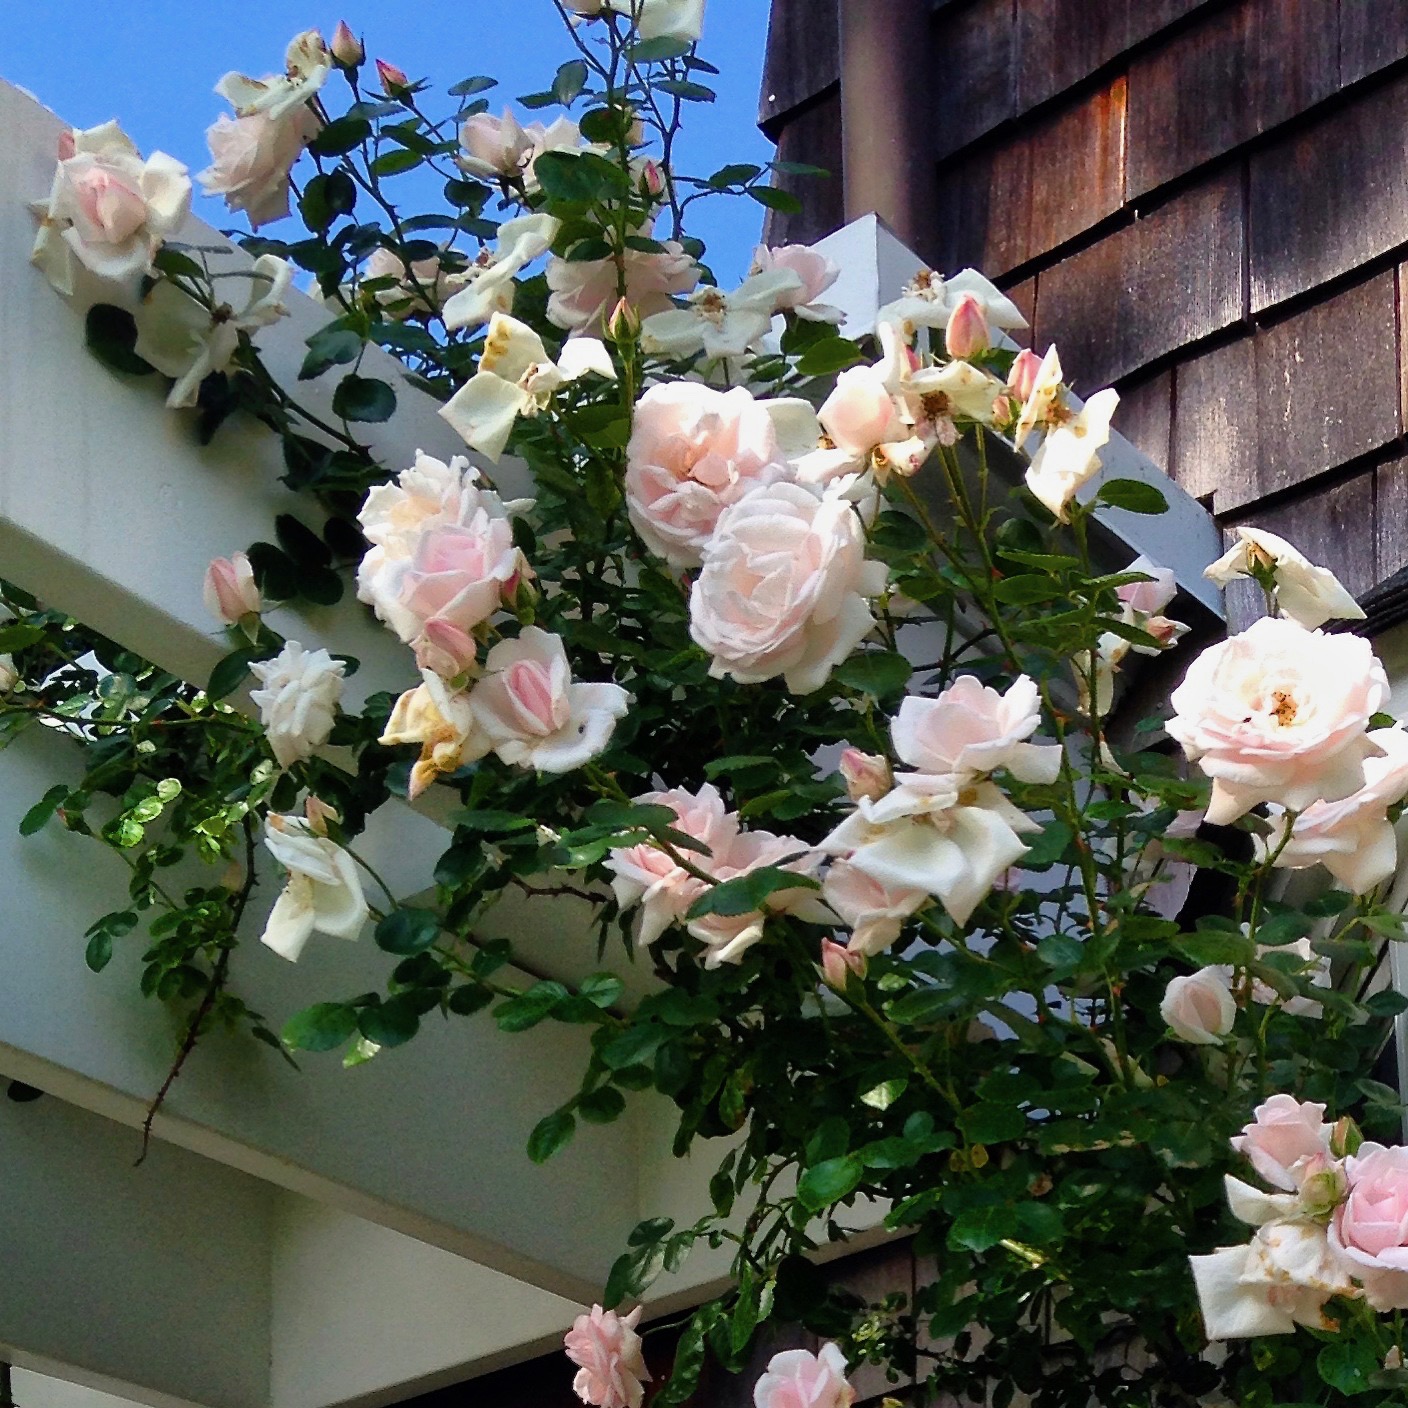
PRUNING ROSES: 8 EASY STEPS FOR HEALTHY SPRING ROSE BUSHES

Here we go spring! It’s finally time to start fussing over my Hamptons garden. Our “Spring Cleanup” was just completed at Maple Shade last weekend (we use Landscape Details to manage our property and love their work) so now I will begin to see which rose bushes have survived the winter and who needs some TLC. I find a lot of useful tips from Garden Design magazine, including this feature by Linda Hagen: PRUNING ROSES: 8 STEPS FOR HEALTHY ROSE BUSHES: Learn how to trim rose bushes — it’s not as difficult as you think!

When you know the basics of pruning roses, even inexperienced gardeners can achieve beautiful results. Don’t be intimidated by pruning—the rules and warnings are mainly for those who grow roses for specimens or exhibits. But for the casual gardener who simply wants beautiful, healthy rose bushes, there are really only a few fundamentals to follow.

WHAT YOU’LL NEED
- Good gloves — Buy on Amazon
Gauntlet-style recommended for extra protection up your forearm. - Bypass shears, not anvil — Buy on Amazon
Bypass blades overlap and make a clean cut; anvil blades meet and can crush or damage canes. - Heavy long sleeves
The right clothing will prevent getting “bit” by the thorns.

WHEN TO PRUNE ROSES in Spring: Major pruning should be done in early spring, after the last frost in colder climates, by following the 8 Basic Pruning Steps below. You can also let the roses tell you — when they start to bud or leaf out, it’s time.

8 BASIC PRUNING STEPS
You’ll be surprised to learn that modern roses don’t need as much pruning as you think. Follow these steps to ensure your roses will thrive:
1. Remove all remaining leaves. This allows you to see the structure of the bush and clearly see all the canes (stems). This step also removes any pests or diseases that may have been hiding over winter in the foliage.
2. Start with dead wood. How do you know its dead? Cut into it — brown is dead, green is living. Cut any dead wood back to the base. When pruning roses, your goal should be to open up the center and create a vase-like shape.

3. Open up the center of the plant. Take out crossing branches which can rub, causing damage and encouraging disease. The goal is to have upward-reaching branches with an open structure in a vase-like shape.
4. Remove any thin, weak growth. The basic rule of thumb is to remove anything thinner than a pencil.

5. Prune the remaining canes. Prune by cutting 1/4” to 1/2” above an outward-facing bud eye (a small bump found where a leaf would meet the stem). New stems grow in the direction of the bud and the goal is to encourage them to grow outward, not inward. Make cuts at a 45-degree angle sloping away from the bud, allowing water to run off.
6. Seal fresh cuts. Protect freshly cut canes from rot and rose borers by sealing the wounds with a compound like Bonide’s Garden Rich Pruning Sealer.
7. Clean up. After pruning, make sure to clean up the surrounding area underneath. All leaves and cut branches should be disposed of as diseases and pests could be lurking.
8. Feed your roses. Roses are “big eaters” and need proper nutrition, so feed them with a long-lasting fertilizer like Jobe’s Organics Fertilizer Spikes.
* For more great garden information visit Garden Design Magazine

