The Queen of The Enchanted Home Teaches Us How-To Tulipiere In Six Simple Steps

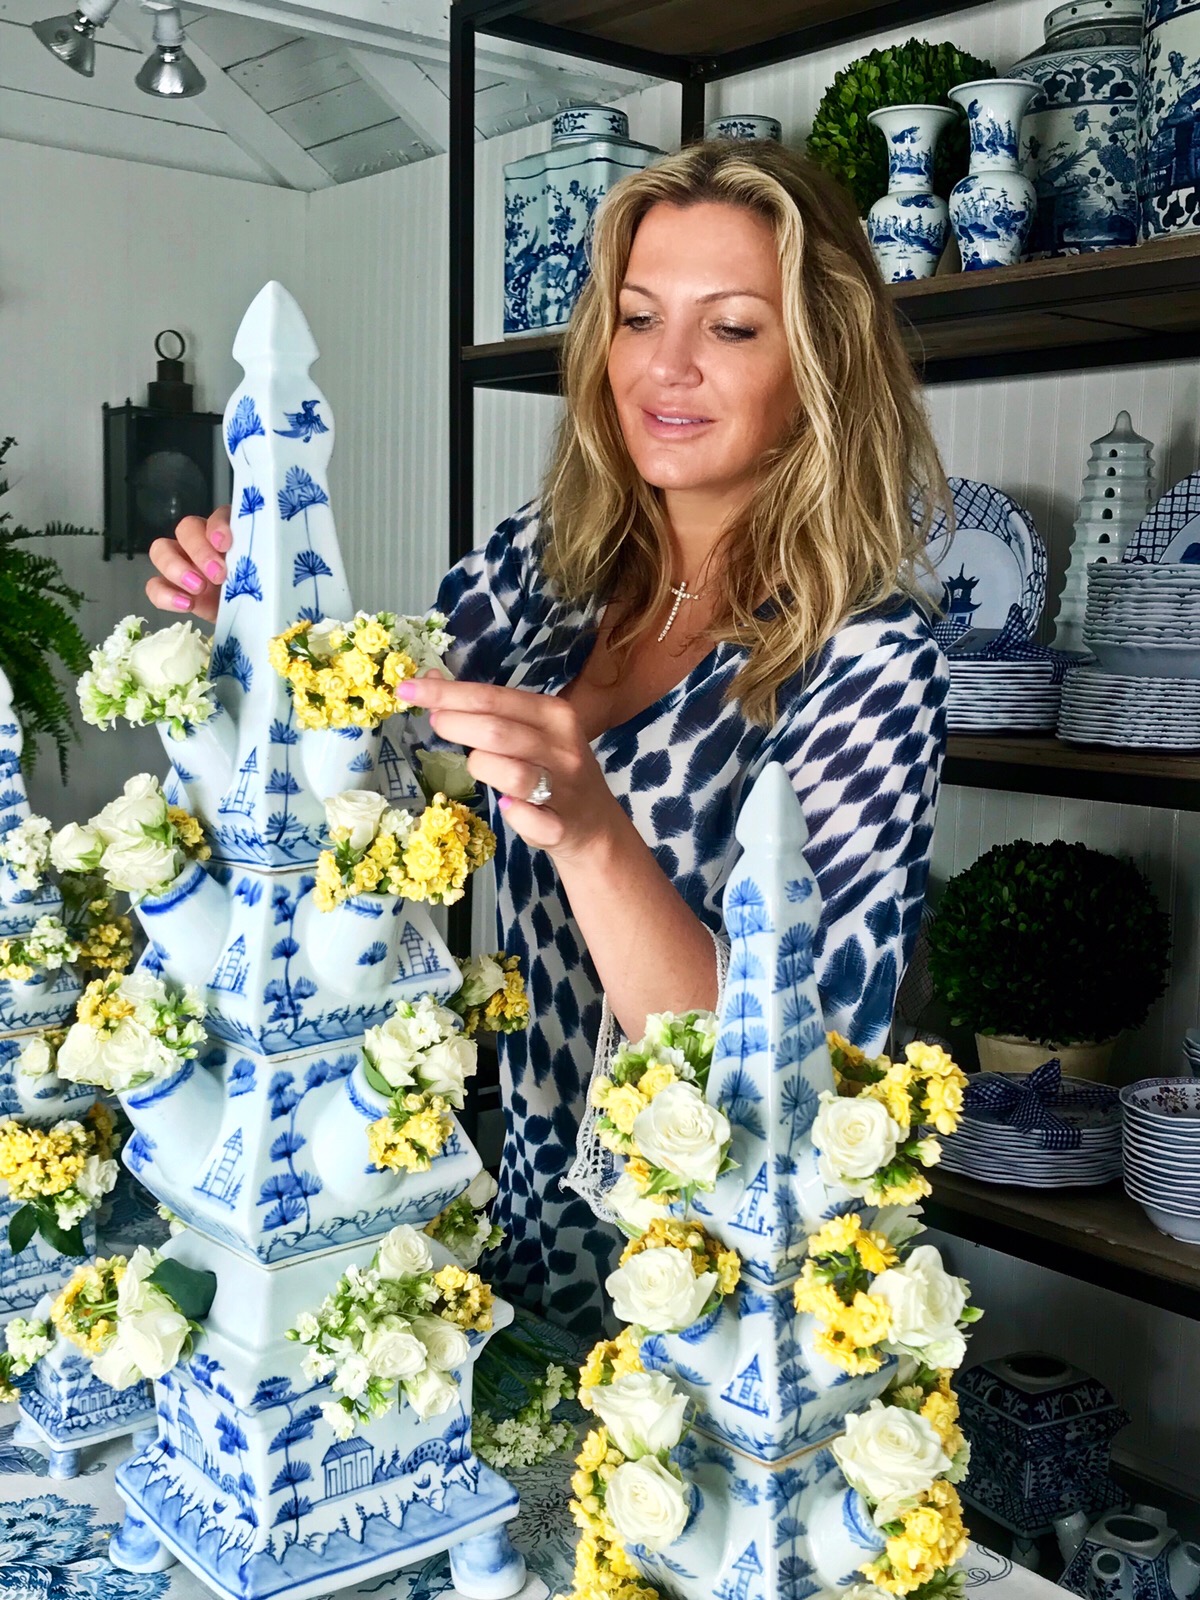
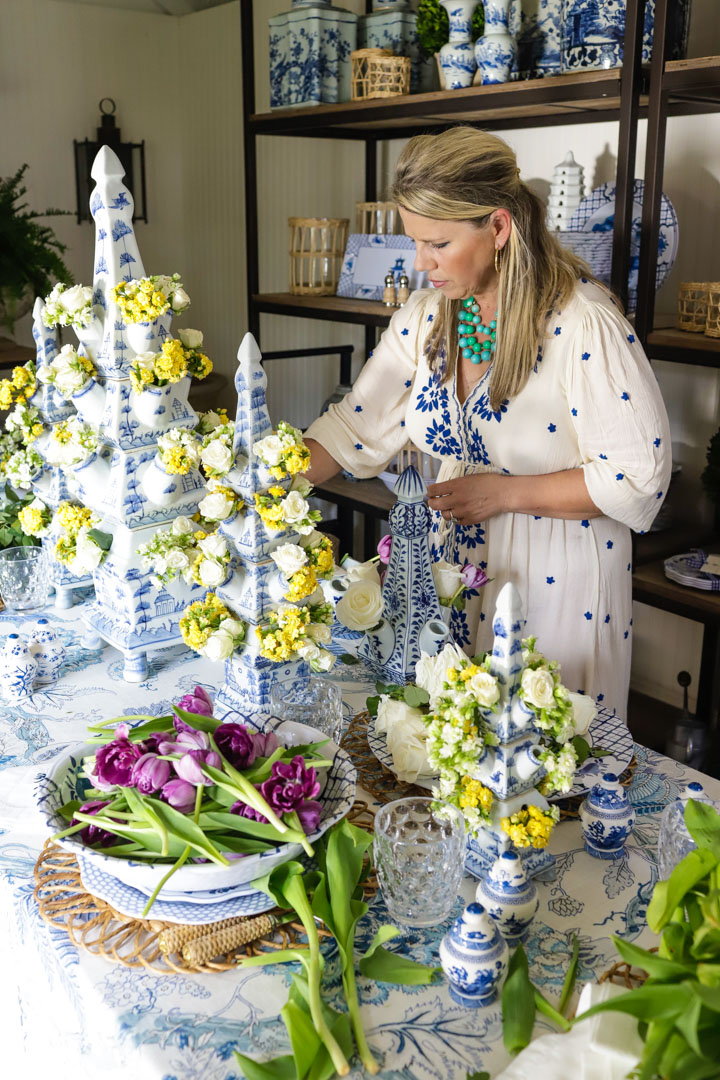
My fellow friend of the blue and white brigade and owner of the popular online store The Enchanted Home (TEH) Tina Yaraghi (above), curates an exclusive collection of tulipieres, porcelains, chinoiserie tole, melamine, and tabletop accessories which play a part in every area of my lifestyle from poolside entertaining to serving breakfast on the porch to my family. “I would describe my brand as modern day elegance that leans towards traditional, but with an updated twist,” says design darling Tina.
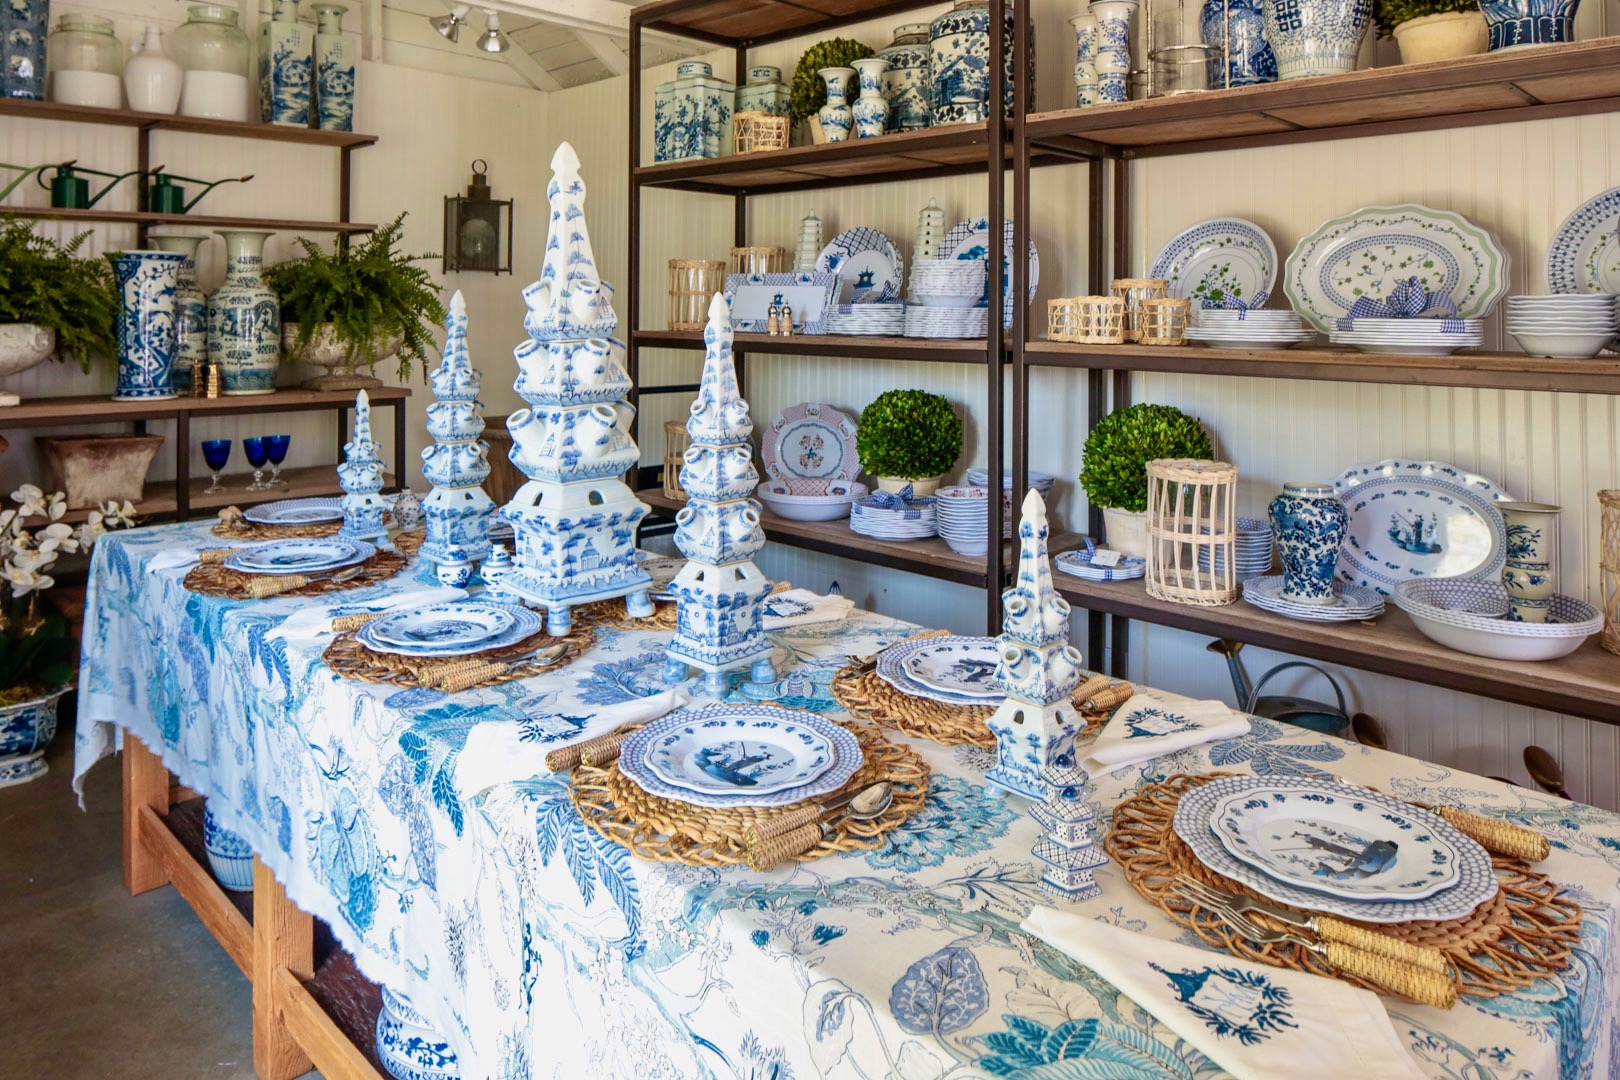
If I had to choose a favorite item from TEH, it would be the exquisite tulipieres that Tina designs in different sizes (above). Divine for a dinner party, wedding, or dramatic mantlepiece, nothing elevates a setting like a tulipiere topped off with fabulous fresh flowers. Here’s how to take your tabletop design to the next level with these signature showstoppers. Tina teaches us “How-To Tulipiere” in six easy steps below…
“The small tulipieres are adorable and work well for smaller consoles, or a night table. A single tulipiere can also be very pretty in a guest bath or powder rooms, but I love them most when displayed as a pair.”
Tina shares, “There’s no such thing as too much blue and white. It’s elegant, sophisticated and striking wherever it is used. (above The Enchanted Home Original Tulipiere design in large ($315). “We include a tube of porcelain glue that will permanently hold the pieces together if you are worried about a table topple.”
SIX SIMPLE STEPS TO TULIPIERE MAGIC
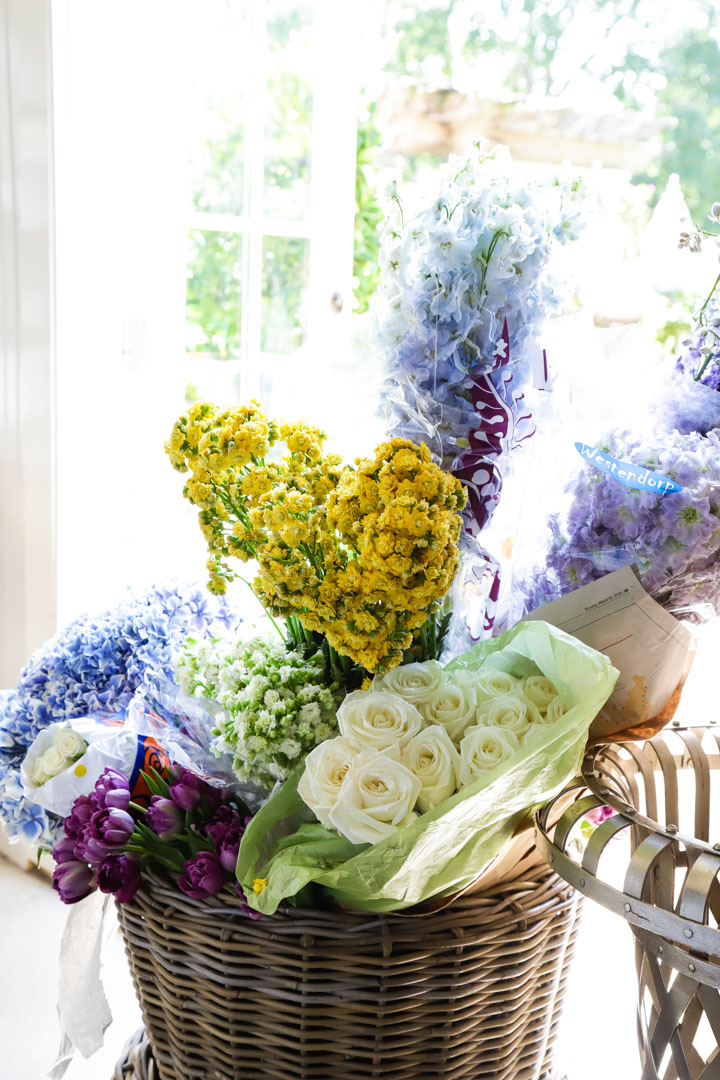
- Gather all materials: tulipieres, a pitcher of fresh clean water, fresh flowers, & cutting shears.
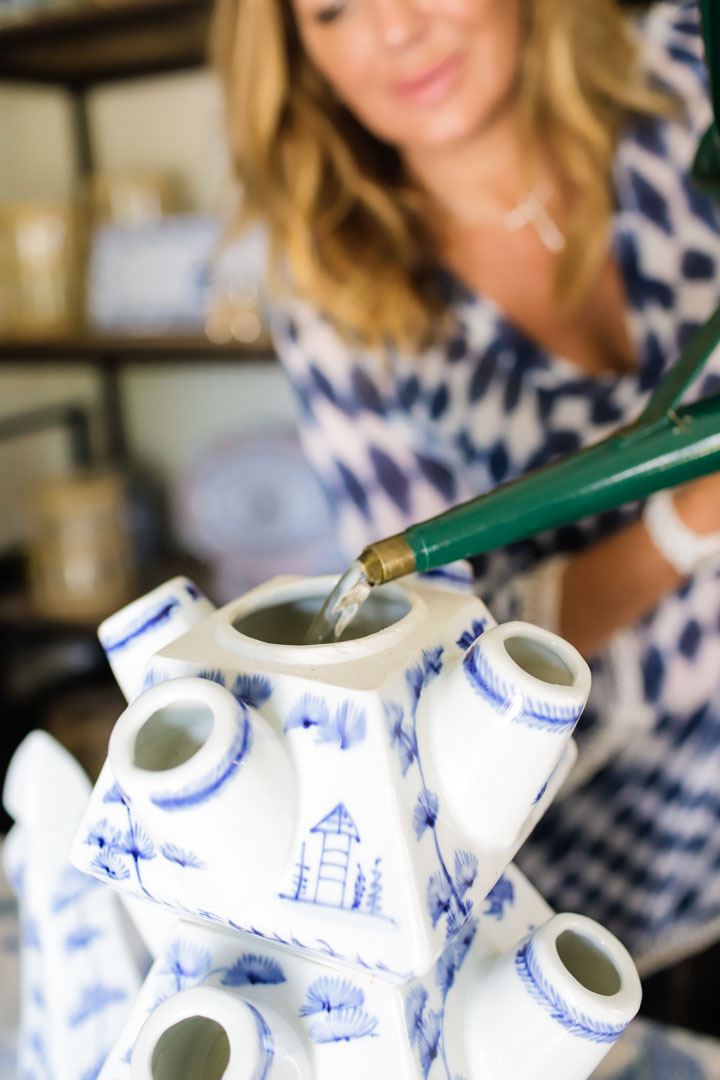
- Assemble the tulipiere where it will be displayed.
- Fill each part of the tulipiere with water until it reaches the top of opening.
- Cut flowers between 4.5″- 6″ (the latter for the bottom piece of tulipiere). Remove leaves in order to fill as many flowers as possible.
- Start with the bottom piece and fill flowers evenly on all sides as you move up the tower.
- Showtime! Keep room slightly cooler for a floral peak performance.
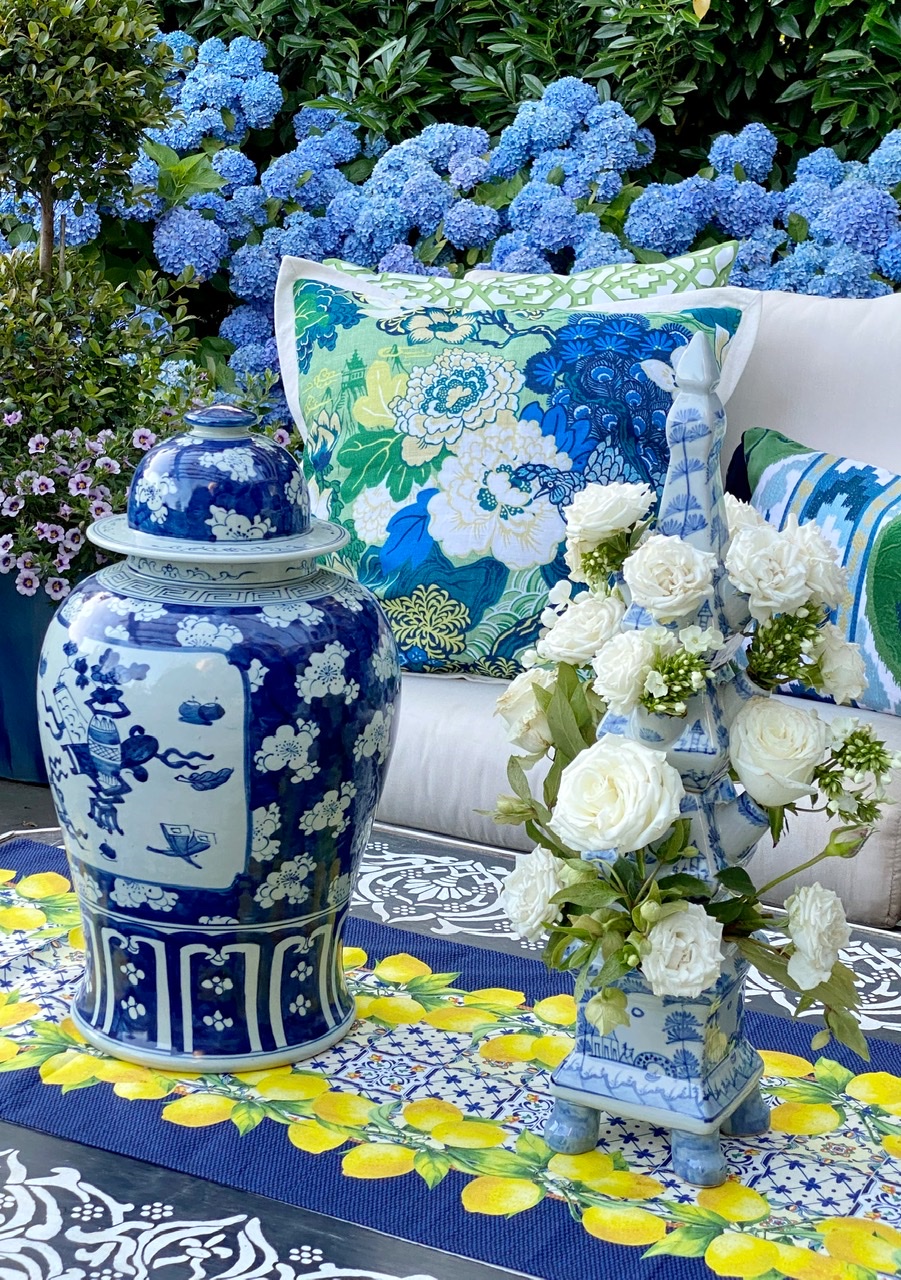
“I so enjoy designing tulipieres year round for many occasions. It makes me happy to know they have found a place in so many other homes too. They work beautifully with so many different flowers beyond tulips, and the color way possibilities are almost endless,” shares Tina.

“I discovered tulipieres in Europe through Dutch art while taking an art history class and was instantly smitten,” Tina tells Kelli. “I looked into buying a pair however most were prohibitively expensive and I could not find nice quality reproductions. The wheels started turning and I started laying out plans for designing and manufacturing my own line of them.”

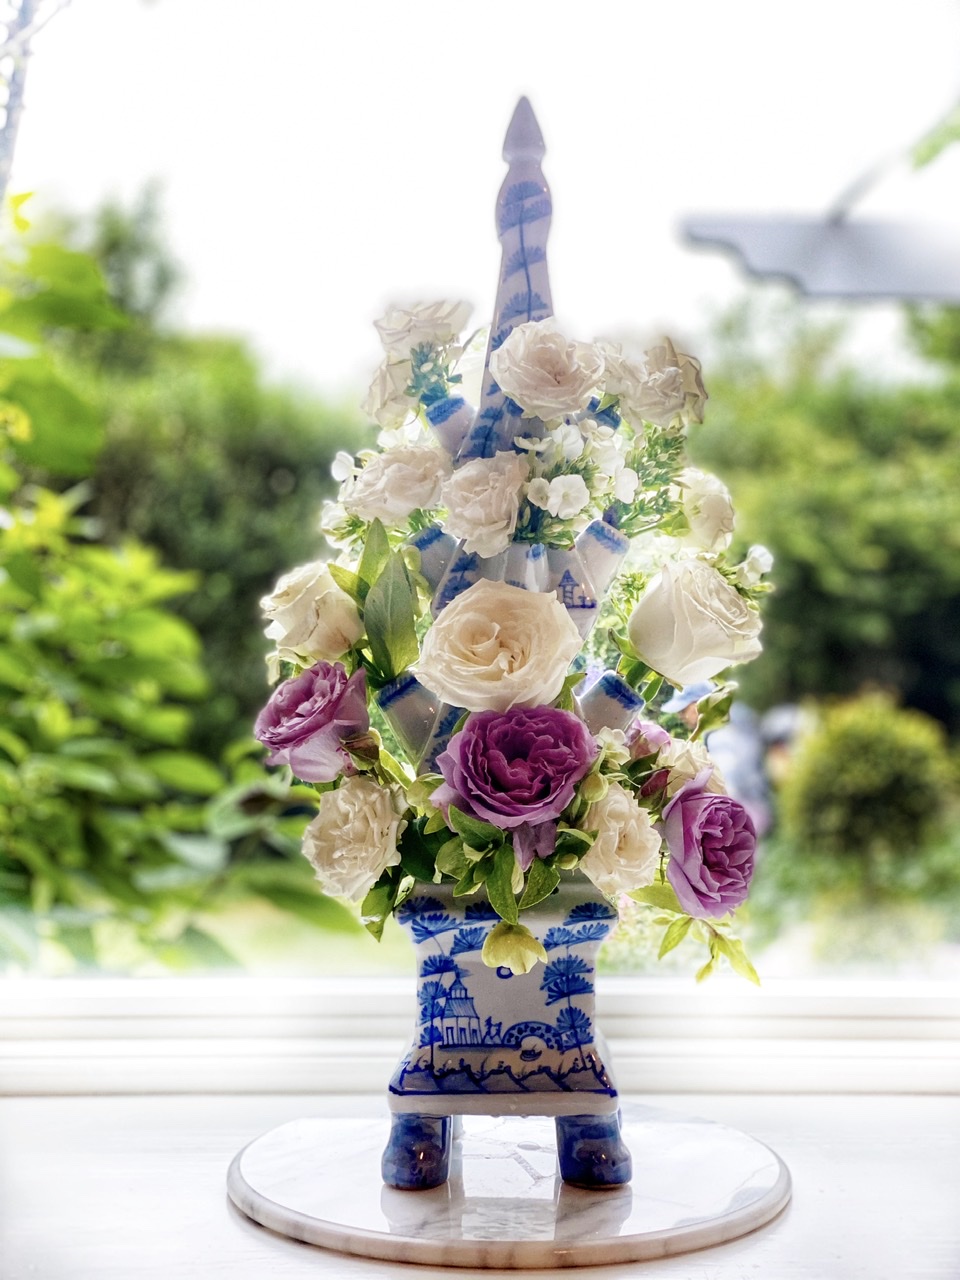
“My tulipieres come in small, med and extra large. They are handpainted porcelain and offered in three design styles: the original bold blue and white, a lighter airier style called Village Scene (above, Village Scene large $315, med $215 small $120), and a soft solid white.”

“So many flowers work – my favorite way is to make them very full with tulips of all varieties, roses, mini daffodils, sweet pea, freesia, or lisianthus. I will even take a hydrangea head and cut it into smaller little blooms, they make a great filler.”

“While I love many color combinations- I think the yellows and whites and the purples might be my favorite- they really pop against the blue and white.” Shop the full collection of The Enchanted Home online HERE. Also, follow Tina @theenchantedhome on instagram and pick up you own tulipiere at East Hampton Gardens at 16 Gingerbread Lane, East Hampton to design your own. Make sure to tag us for reposting!

**all photos in this feature by Eric Striffler